Using Templates for Embroidery Placement
When planning your embroidery project, you may wish to use a template to determine the exact placement of your design. Some embroidery design collections come with pre-printed templates. Remember that these templates are created at the design’s original size. If you modify the design’s size, the pre-printed template will not be accurate.
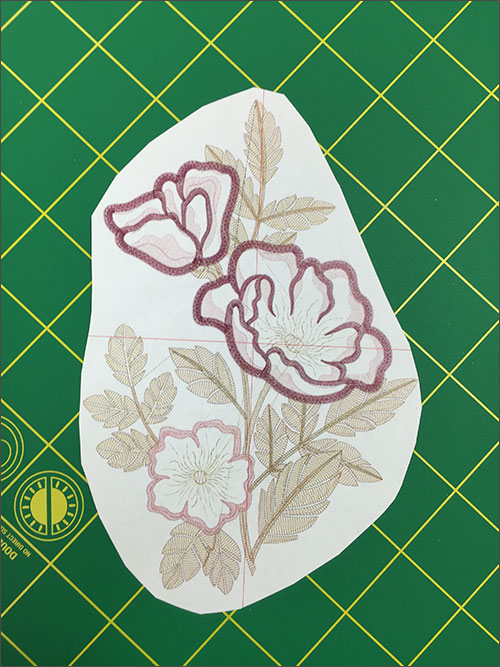
You can print your own template for your design from your embroidery software. Be sure that you are printing the design at 100% of the actual size and that you have told your software to print the center of the design.
Cut around the outside of the design template.
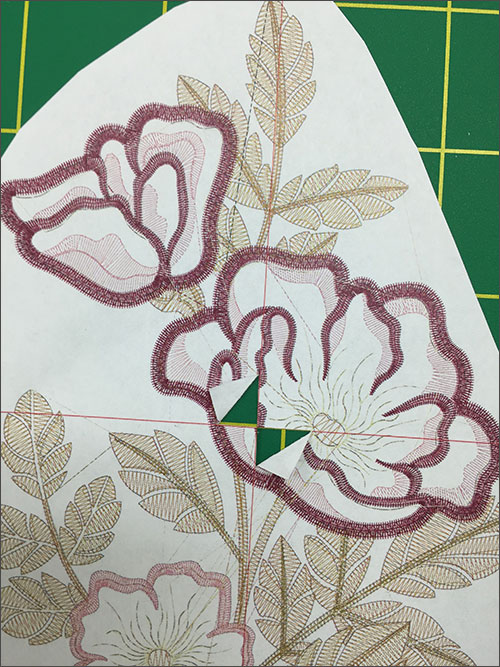
Cut a small slit along the x and y axis at the center of the design.

Fold back two corners of these slits.
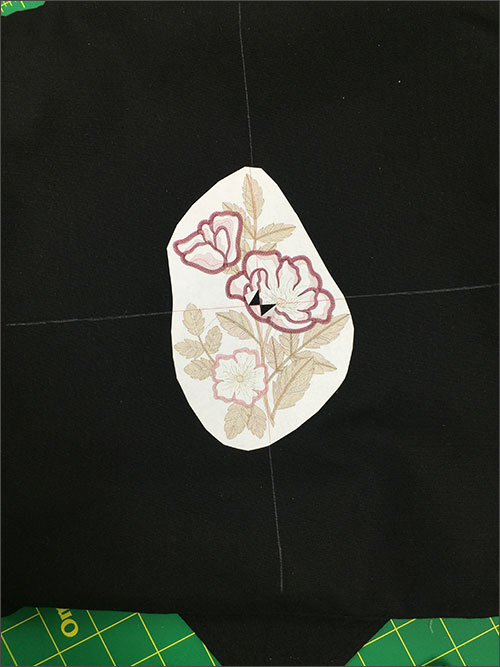
Place the template on your fabric or garment in the location where you would like to place the embroidery.
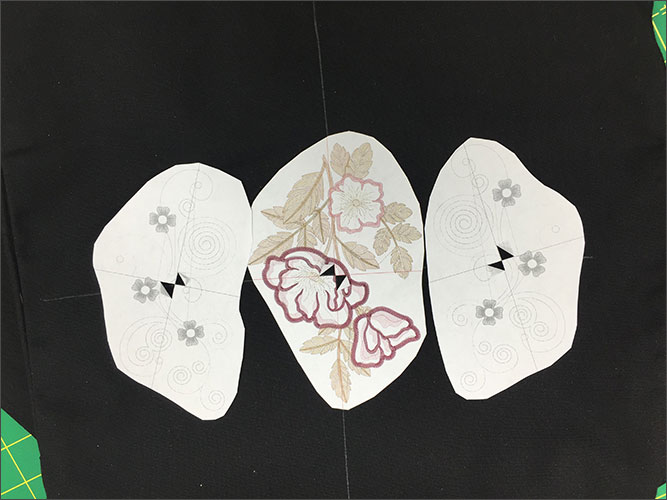
For projects with multiple designs, mark all designs before beginning embroidery.
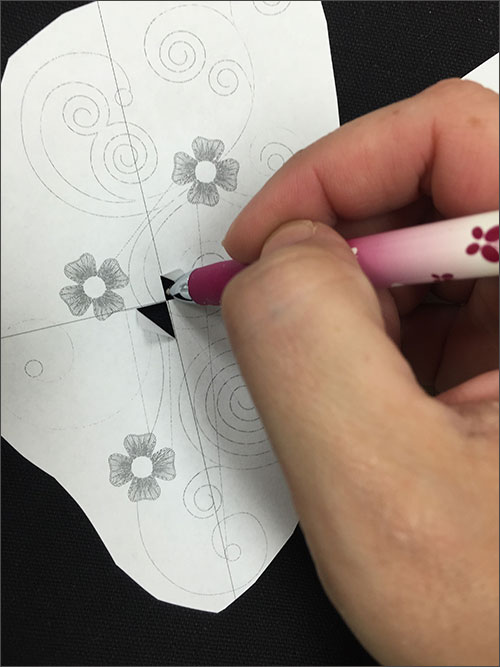
Adjust as needed. You can spray the back of the template lightly with temporary adhesive spray to hold it in place as you work. Once you have determined the desired location for your design, mark the center of the design by tracing along the slits at the center of the template. Use a chalk marker or a water or air soluble pen to mark the center.
You may wish to mark the “up” direction of the design.

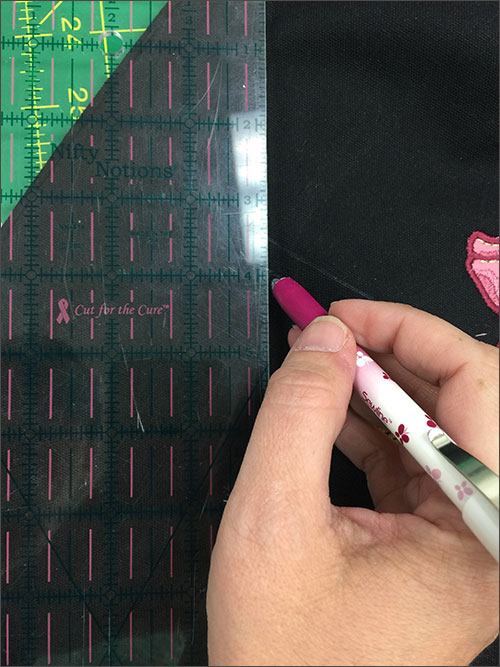
Extend your marks using a ruler to give you a better visual of the design and help prevent twisting of the project as you hoop.
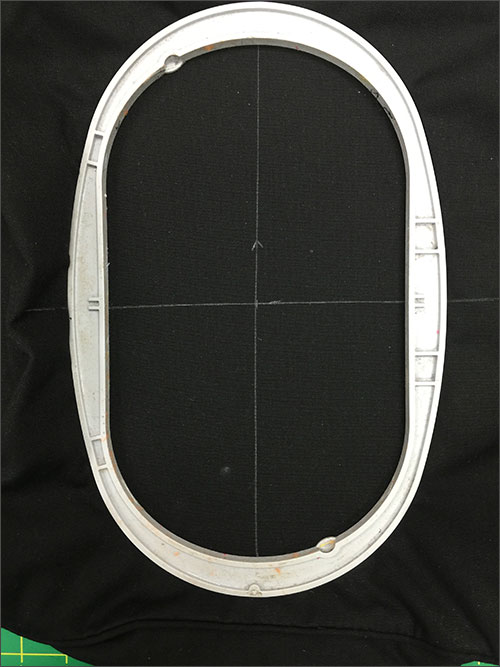
Remove the template and adhere stabilizer to the back of the fabric. Hoop the stabilizer and fabric, centering the mark in the hoop.
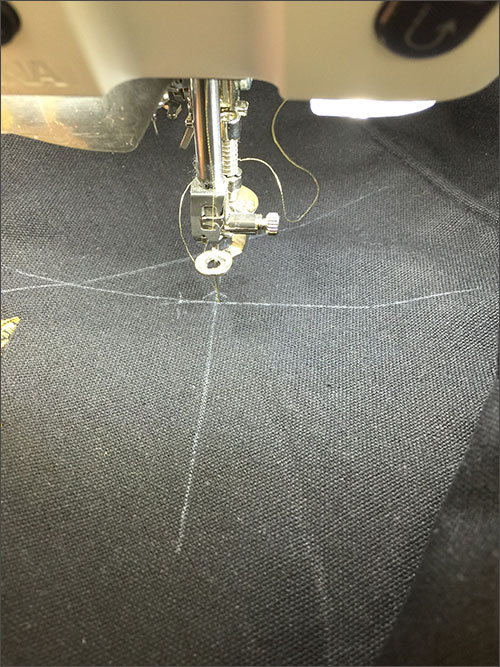
As long as the marked center is parallel to the actual center, you can still stitch the design in the proper location by adjusting the needle position before embroidering the design. Check your machine’s manual for instructions on how to adjust the center position of the design.
After stitching each design, remove the stabilizer from the back of the project before rehooping for the next design. Once all designs are complete, remove any marks left on your project.
Rehoop and repeat until you have stitched all the designs for your project.

This material is © OESD, LLC and may not be reproduced or published without permission.