Pre-Cut Applique Tutorial
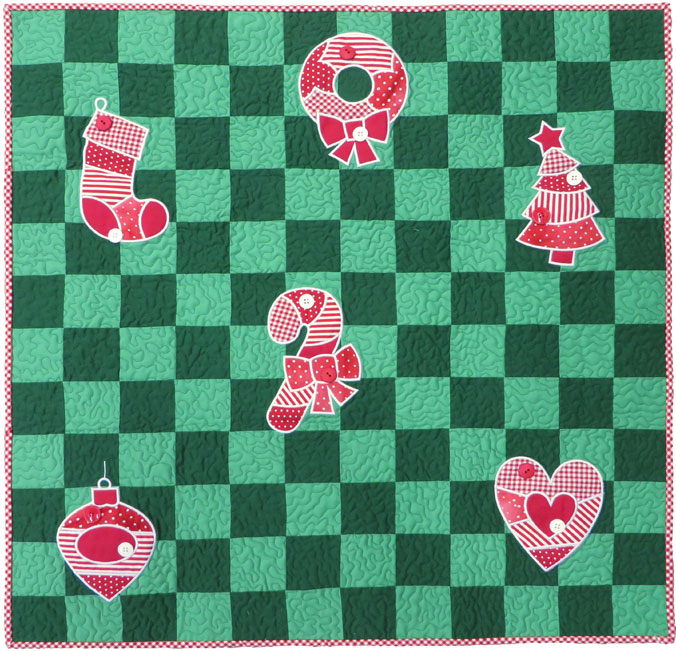
The Merry Appliques #12525 embroidery collection features six Christmas-themed shapes in a modern style and embellished with matching buttons. Let’s take a look at how to prepare and stitch out one of these Merry Appliques for a Merry Applique Quilt using the pre-cut applique technique. For our quilt, we designed a simple pieced green background for all those Merry Appliques to look merry and bright. The complete instructions for the Merry Applique Quilt (30” x 30”) are included when you purchase the embroidery collection.
The recommended stabilizer for applique is OESD Applique Fuse and Fix. It is fusible on one side (ironed to the wrong side of the fabric) and paper-lined on the other side. The paper side will be peeled off right before placing the applique over the placement stitch, so that it will stay in place. Choose your fabrics and iron them. Then iron a piece of the Fuse and Fix onto the wrong side of the fabric.
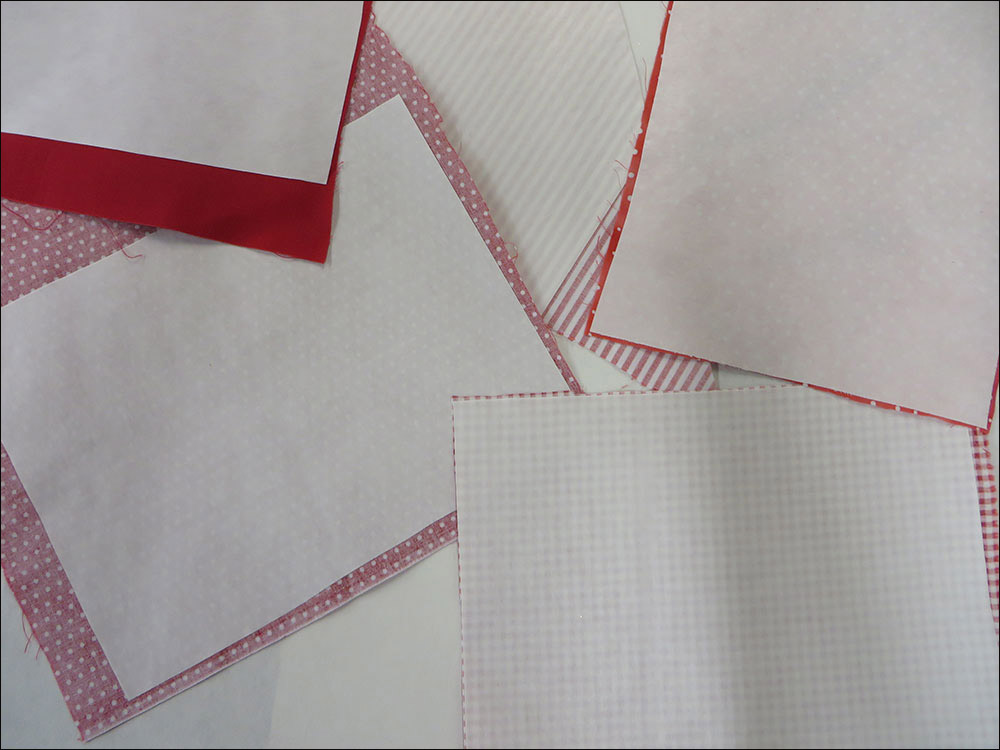
Next, cut the applique paper pattern pieces apart. Cut out one color of fabric at a time (five different fabrics were used for the appliques). Take each of the paper pattern pieces and spray the wrong sides with temporary spray adhesive. Place them on the right side of the fabric and cut out the pieces.
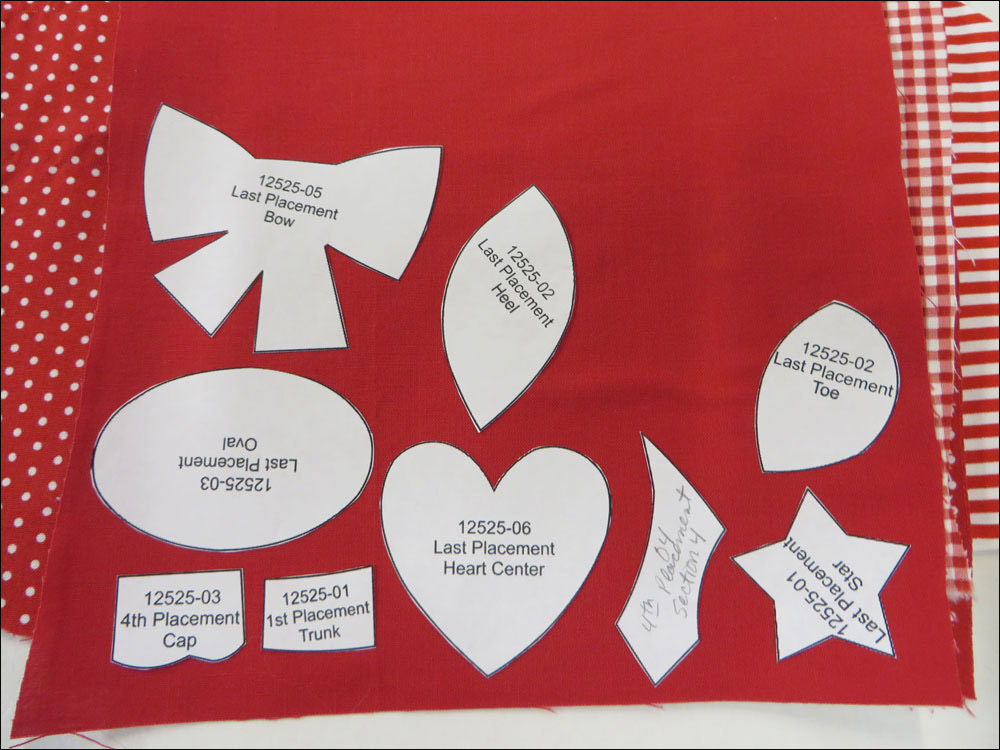
Now, you’re ready to prepare the background fabric, hoop, and embroider the applique design. The order of the placement of each piece for each of the designs is noted on the pattern pieces. Start with the first stitch, which for the Merry Tree is the Trunk Placement Stitch.
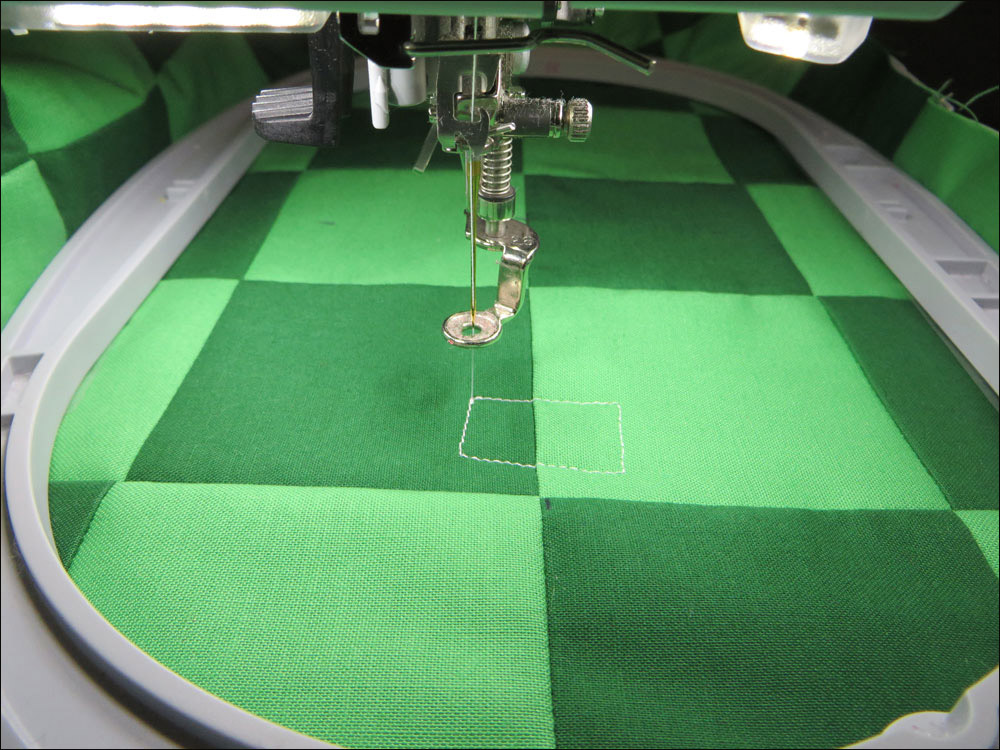
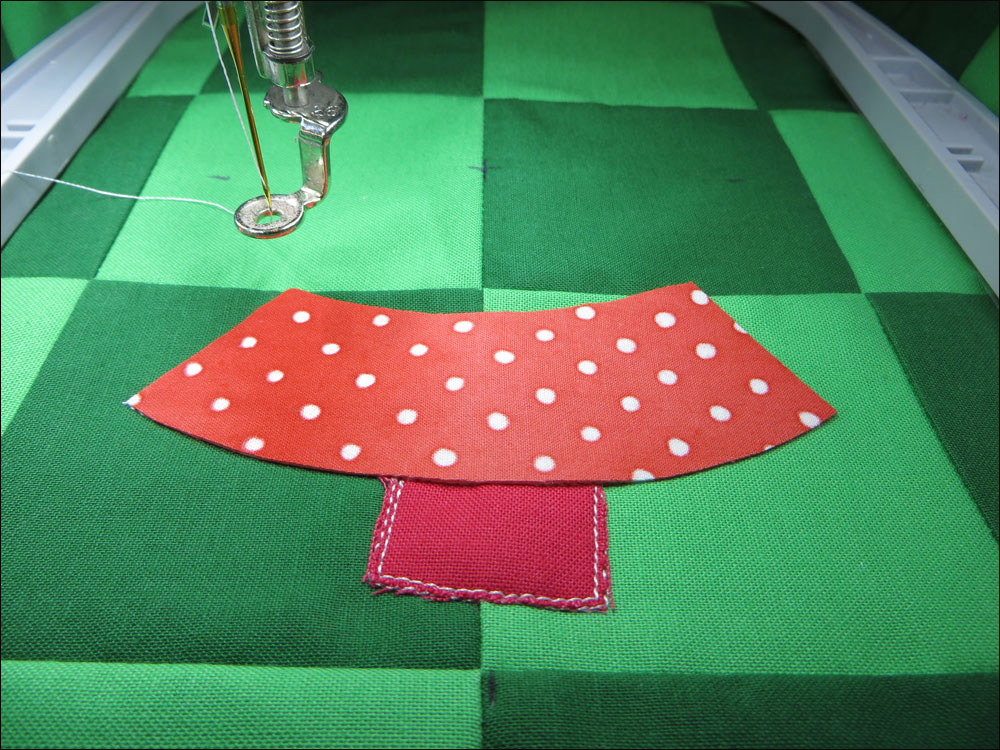
Peel off the paper backing of the trunk applique piece, and place it over the placement stitch evenly. Stitch the second stitch called the Cut Line & Tackdown. The next stitch is the Bottom Tree Section Placement Stitch.
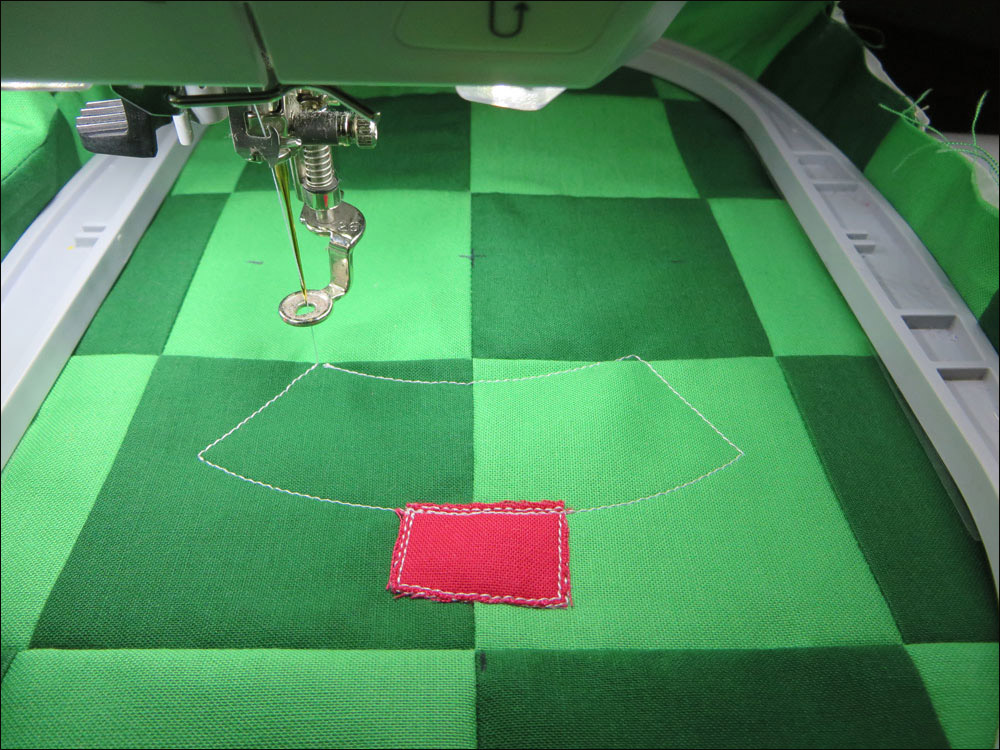
Peel off the paper backing of the Bottom Tree Section applique piece, and place it over the placement stitch evenly.
Stitch the next color called the Cut Line & Tackdown. The next stitch is the Lower Middle Tree Section Placement Stitch.
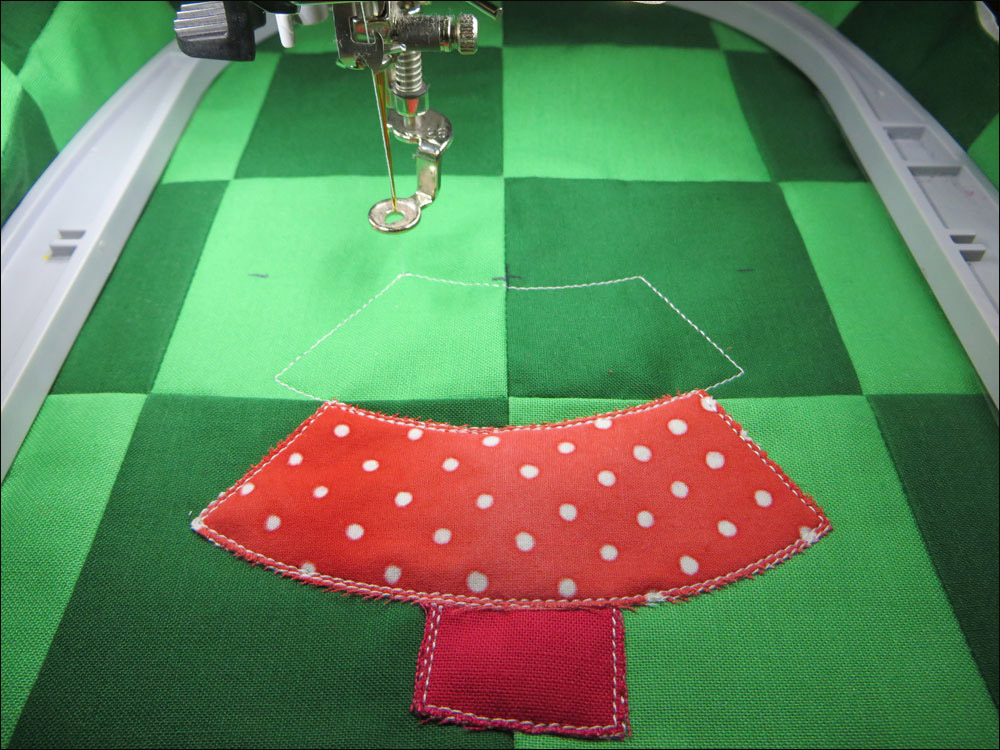
Peel off the paper backing of the Lower Middle Tree Section applique piece, and place it over the placement stitch evenly. Are you starting to see how this works? This will repeat with a placement stitch and Cut Line & Tackdown until the applique is finished.

The last stitch is called the Cover Stitch. This stitches over the raw edges of the fabric pieces. Your applique is completely finished. Finishing putting the quilt together according to the instructions included with the collection. Once all your appliques and quilt are completed, stitch buttons to the appliques wherever you would like for a personal touch.
This material is © OESD, LLC and may not be reproduced or published without permission.