How to Machine Embroider a T-Shirt
Read this tutorial on how to machine embroider a design on a t-shirt.
Supplies
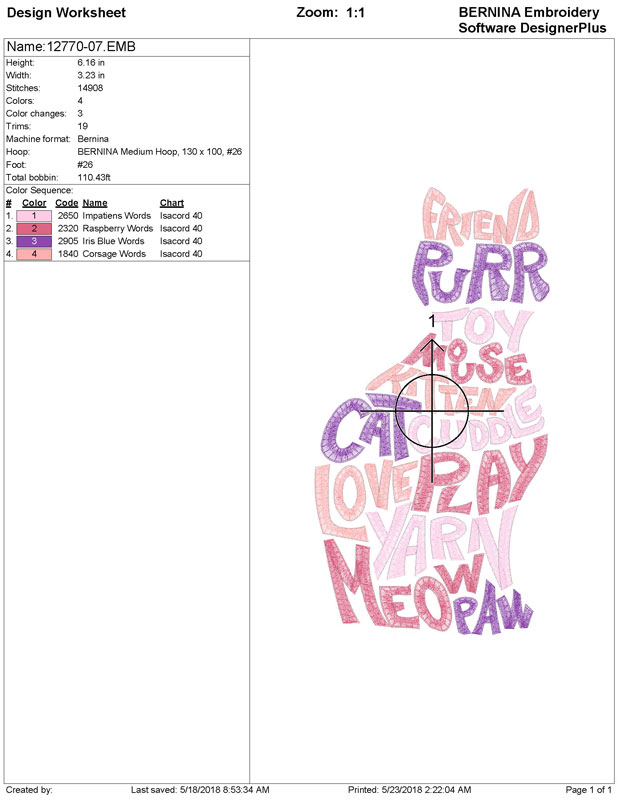
- OESD's Word Art #12770 embroidery collection
- OESD Fusible Polymesh CutAway Stabilizer
- OESD StitcH2O WashAway
- OESD Gentle Touch Backing (optional)
- Expert Embroidery Tape TearAway
- Isacord thread
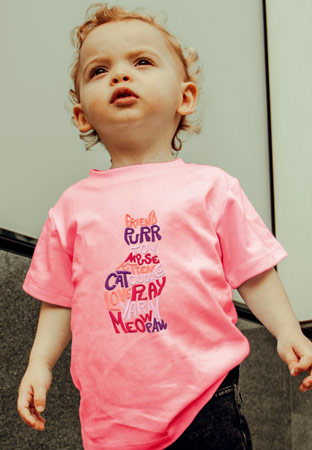
- T-shirt
- Removeable marking pen
- Ruler
- Software capable of printing templates
NOTE – Bernina Artlink is a free download with the capabilities required for this project. See www.berninausa.com for download information.
Instructions
In software, print a template of the design. The design must be printed at 100%, or 1:1 size since it will be used for placement on the t-shirt. Trim around the design. Slit the crosshair open and fold back opposite sides for marking ease.
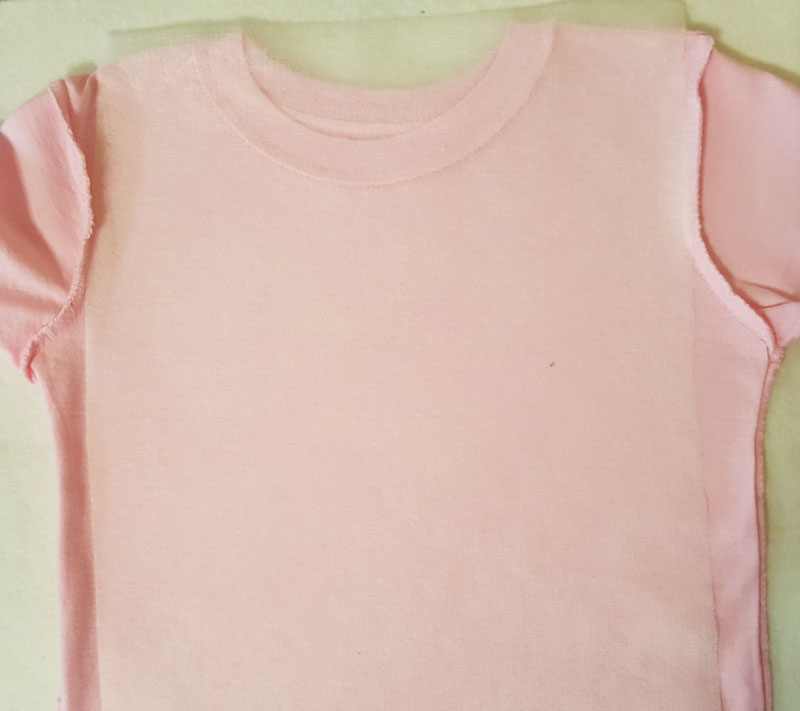
Prewash and dry the t-shirt to preshrink before embroidering. Turn the shirt inside out. Press without stretching the fabric.
Cut 2 pieces of Fusible Polymesh CutAway, about 2 inches larger than the hoop. Fuse one layer following package directions to the inside of the shirt front. Fuse the second piece over the first. Turn the shirt right side out.
Note: CutAway stabilizer is required when stitching on knits and any garment that will be subject to frequent washings. Polymesh CutAway is lightweight and provides excellent stability without changing the drape of the fabric.
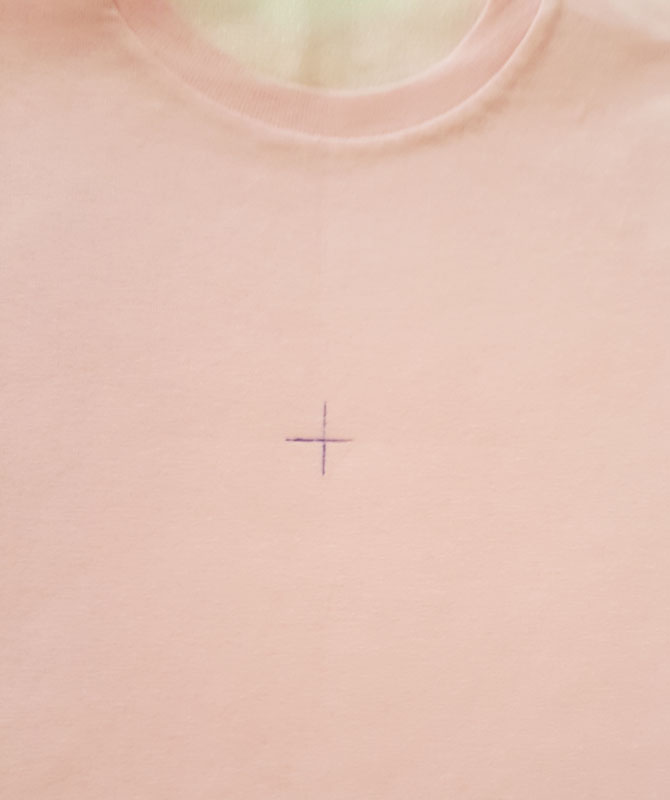
Fold the t-shirt in half lengthwise matching the underarm and shoulder seams. Finger press to create a slight crease down the front of the shirt. Position the template along the crease matching the vertical crosshair of the template and the top design about 1” from the bottom of the collar.
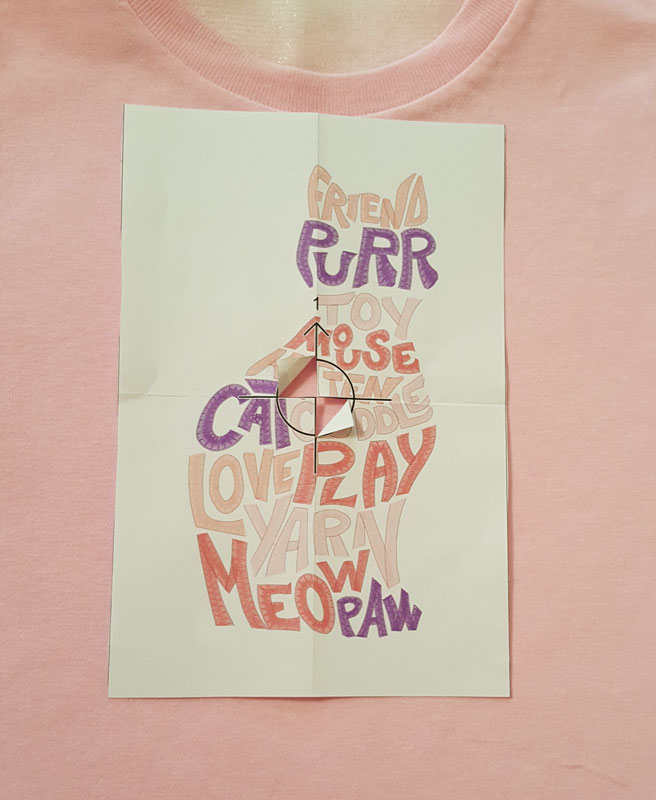
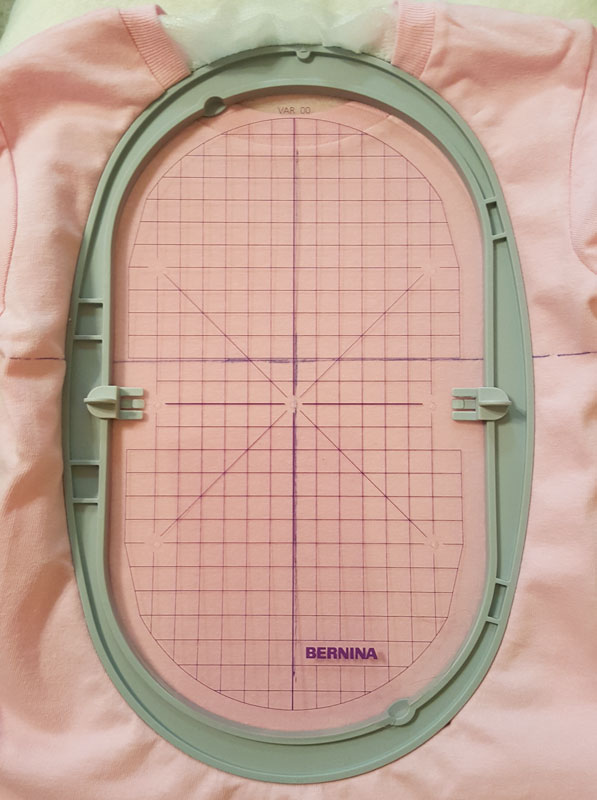
Using a temporary fabric marker, mark both the vertical and horizontal centers directly onto the t-shirt. Set the template aside. Extend the lines of the crosshair to the full size of the hoop for ease in hooping.
Use the hoop template to assist in hooping the shirt. Align the template with the vertical crosshair line. The horizontal lines should be inline with the horizontal lines on the hoop template. In this instance, the design is moved up in the hoop because of the proximity to the collar.
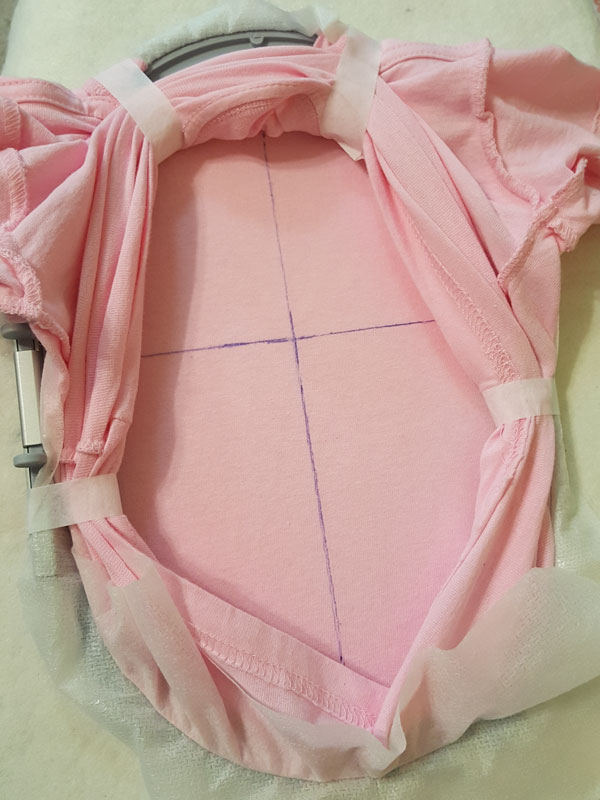
Once hooped, pull the back of the t-shirt to the top of the hoop. Tape the excess out of the way of the design with Expert Embroidery Tape TearAway. It is acceptable, as well as helpful, to pull the tape to the back of the hoop to secure. This will help insure that none of the t-shirt next to the design area gets caught in the stitching.
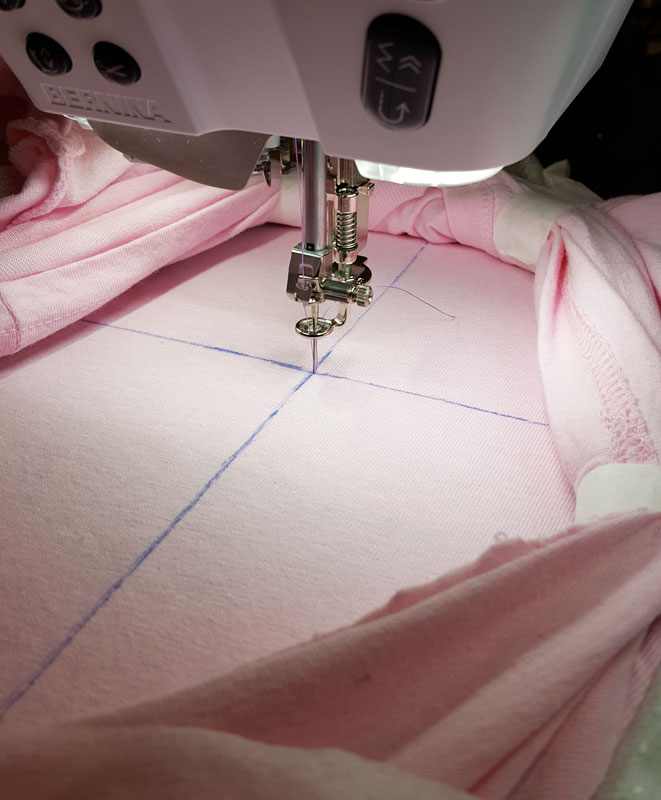
Load the design into the machine. Set the needle to the hoop/design center. Using the positioning tools, move the hoop so that the needle is in the center of the crosshair.
Before pressing Go, cover the design area with a piece of StitcH2O topping. It will prevent the stitches from sinking into the soft knit of the shirt and dramatically improves the look of satin stitches on any fabric.
Press Go. Change threads as necessary to complete the design. Trim any untrimmed jump stitches at the color changes.
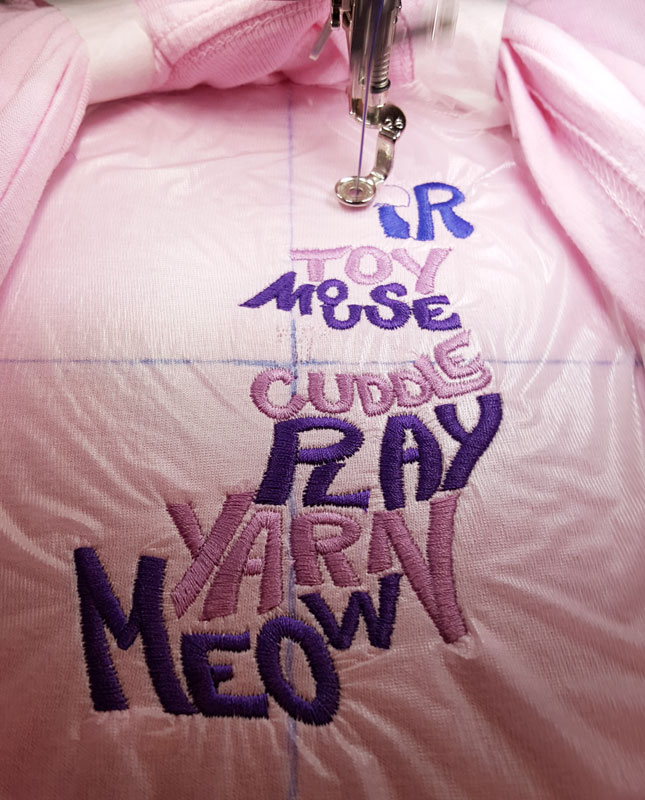
Remove the t-shirt from the hoop. Tear away the excess topping and remove the rest by washing or spritzing with water and blotting with a dry towel.
Trim the Polymesh Stabilizer to about 1/4” around the design. Be careful to not trim the shirt accidentally.
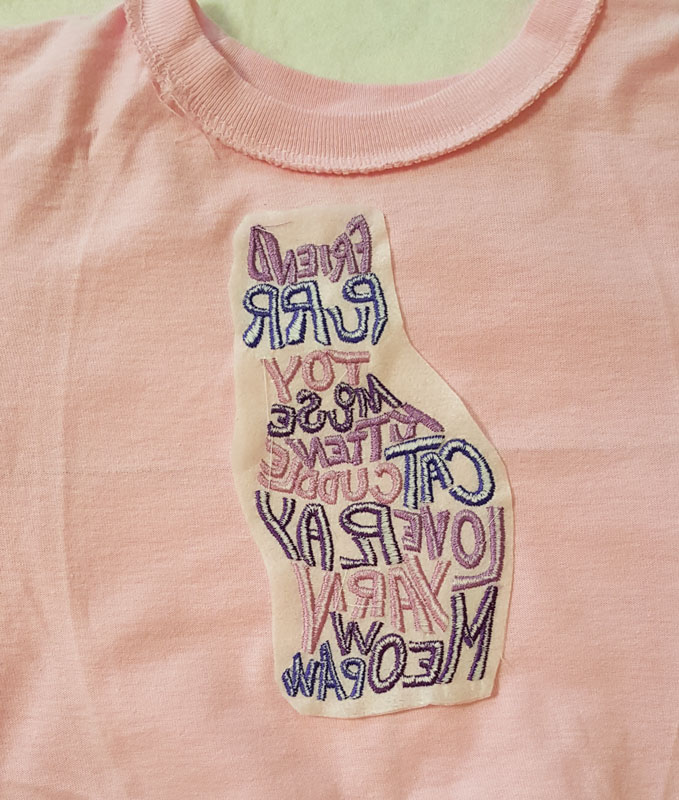
Optional: Cut a piece of Gentle Touch backing large enough to completely cover the design. Fuse the backing in place per the printed instructions. This backing will prevent the bobbin stitches from irritating sensitive skin. And, since it is a permanent fuse, it will stay in place through washing and wearing!
This material is © OESD, LLC and may not be reproduced or published without permission.