How to Create Embroidery Wrapped Canvas
Have a blank wall in your home or office? Show off your embroidery with one of our favorite types of embroidery projects -- a wrapped canvas. The process is very simple, and you can make the finished product as elaborate as you like.
1. Start with a pre-made canvas purchased from a hobby store. If you already have a finished embroidery design, it is helpful to take that with you.
2. Otherwise, embroider your design on a piece of fabric that is at least 2” larger than your canvas on all sides, using washaway mesh stabilizer. Remove the stabilizer from your project by trimming close to the embroidery and rinse away the rest. Press face down on a Perfect Embroidery Press Cloth.

3. Spray the back of your embroidered fabric with temporary spray adhesive. Place the embroidered fabric onto the canvas, smoothing the fabric and adhesive to the edges.
4. Wrap the fabric around the back of the canvas, stretching it slightly, to prevent wrinkles. Staple into place, doing opposite sides first.
5. Add trim, ribbons, flowers or other embellishments with fabric glue.
Embroidery Wrapped Canvas Project Ideas
These contrasting fabrics were first sewn together, and then stretched over the canvas. Trim was added over the seam line. Featuring designs from Hand Lettered Sayings #12473

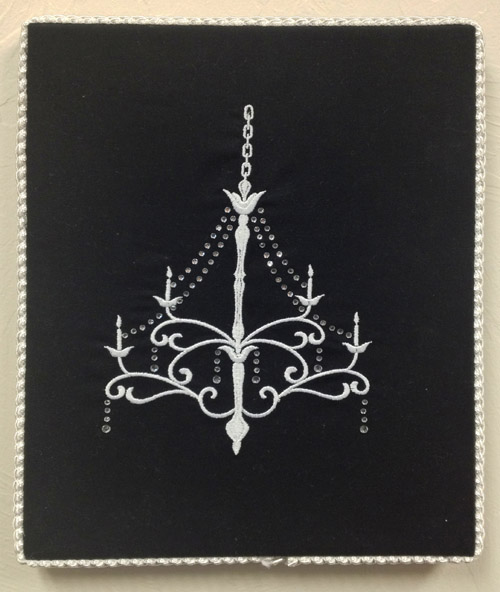
This chandelier features glitz. Featuring designs from Chandeliers and Frames #12395
Perfect addition to your home’s wet bar. Featuring designs from Cocktail Hour #61067

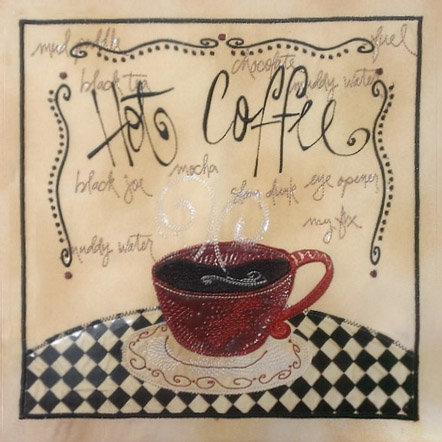
For the coffee lover in your life. Featuring designs from Coffee Cafe #61063
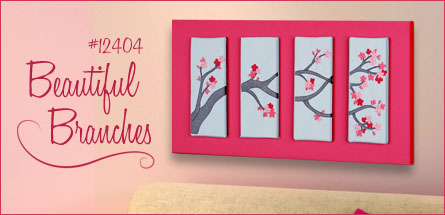
Unique, contemporary wall art using wrapped canvas. Featuring designs from Beautiful Branches #12404
This material is © OESD, LLC and may not be reproduced or published without permission.