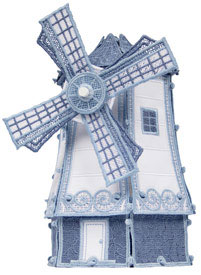
Freestanding Applique Tutorial
Building a Freestanding Appliqué project is easy to learn, and this tutorial will show you how. Some of OESD’s freestanding embroidery collections are lace, some are appliqué, and some are a combination of both. First let’s learn the difference between Freestanding Lace and Freestanding Appliqué:
Freestanding Lace (FSL)
- Only uses thread and washaway stabilizer
- Use same thread in the bottom
- Hoop stabilizer
- Stitch the color(s) of thread
- Remove from hoop
- Trim excess stabilizer
- Rinse away from remaining stabilizer

Freestanding Appliqué (FSA)
- Fabric appliqué prepared with sticky-backed cutaway stabilizer, thread and washaway stabilizer
- Use same thread in the bottom
- Hoop stabilizer
- Stitch the Placement Stitch
- Place prepared fabric over Placement Stitch
- Stitch the Cut Line & Tackdown Stitch
- Carefully trim away excess appliqué fabric only
- Stitch the remainder of the design and repeat for any other appliqués
- Remove from hoop
- Trim excess stabilizer
- Rinse away remaining stabilizer

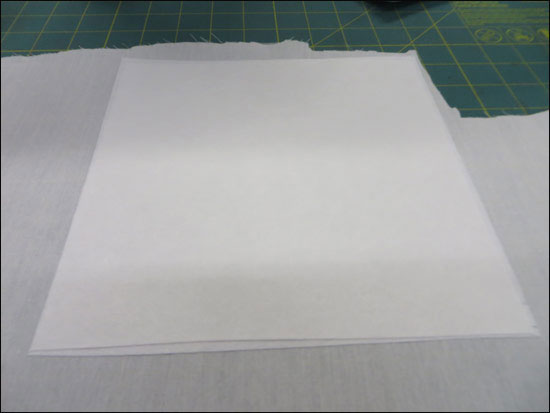
Preparing the fabric for Freestanding Appliqué (FSA)
- Press the fabric and make sure it is free from wrinkles
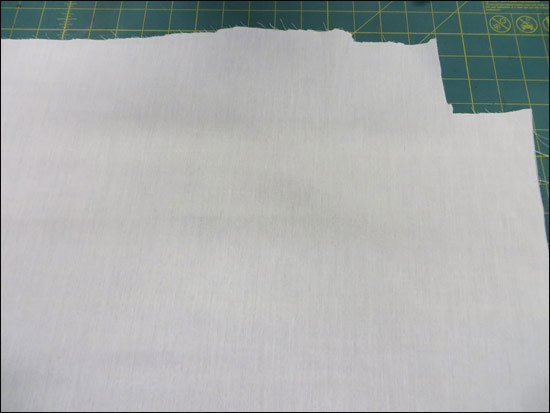
- Peel away the paper backing of the cutaway stabilizer and place on the wrong side of the fabric
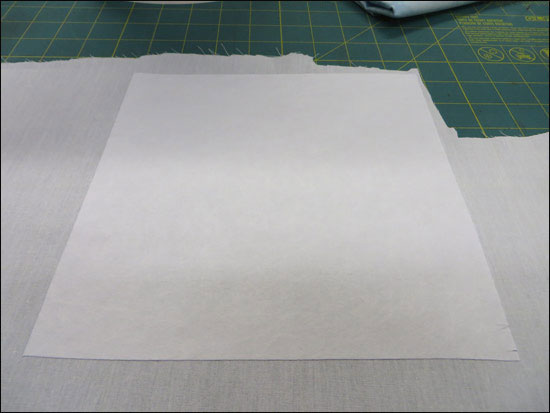
- Add another layer of sticky-back cutaway stabilizer
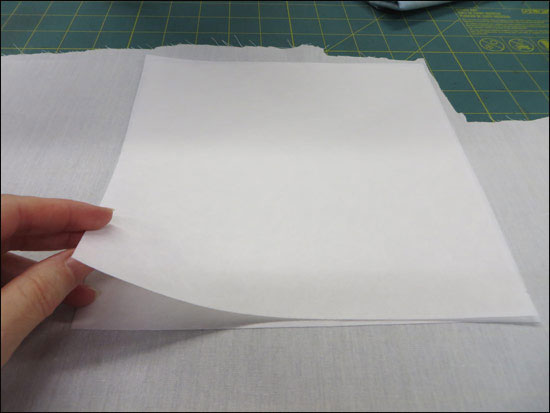
- Fabric with 2 layers of sticky-back stabilizer
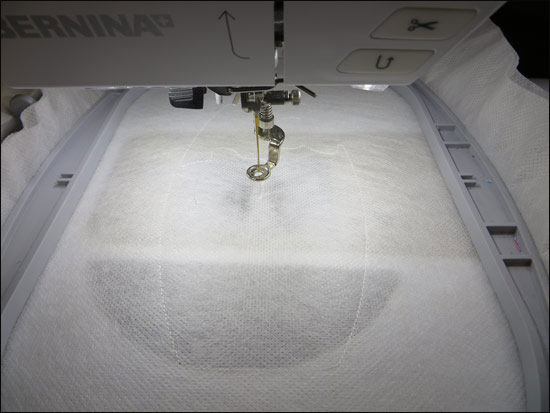
Stitching the Freestanding Appliqué (FSA) Design
NOTE: The sample shown is the Autumn Pumpkin with Appliqué FSA (12516-06) from the Freestanding Pumpkin Patch #12516 embroidery collection.
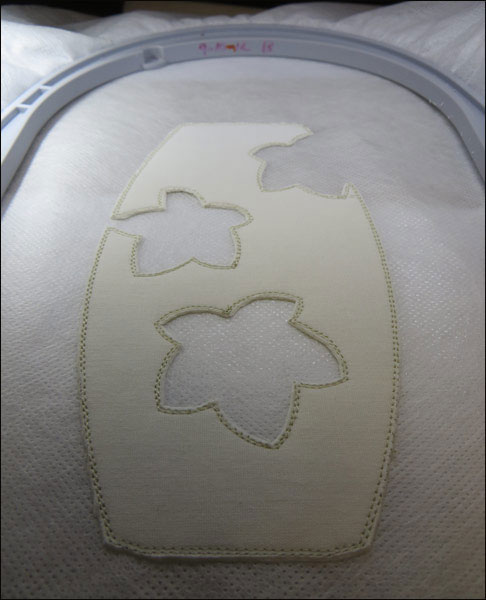
- Stitch the first color called Placement Stitch
- Place the fabric over the Placement Stitch
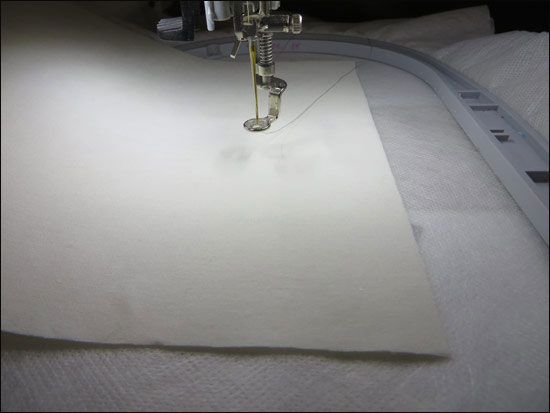
- Stitch the next color called Background Cut Line, Tackdown & Cut Outs
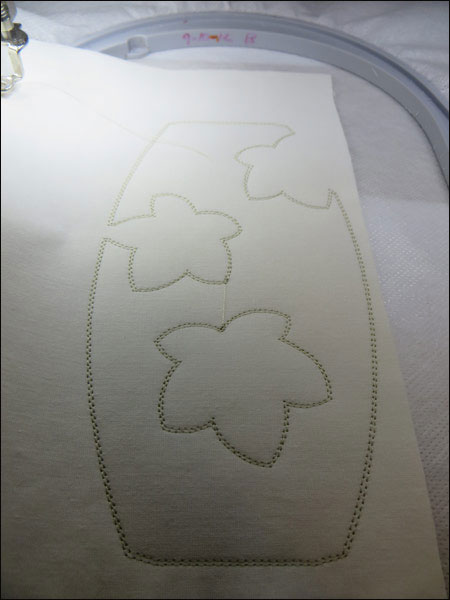
- Take the hoop off the embroidery machine and trim the excess fabric
- Put the hoop back on the embroidery machine and finish stitching the design
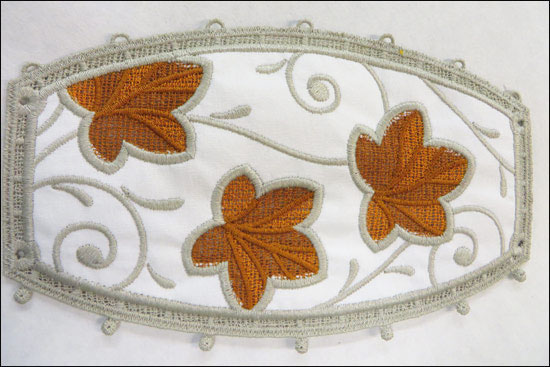
- Finish stitching all the pieces
- Allow the pieces to dry completely
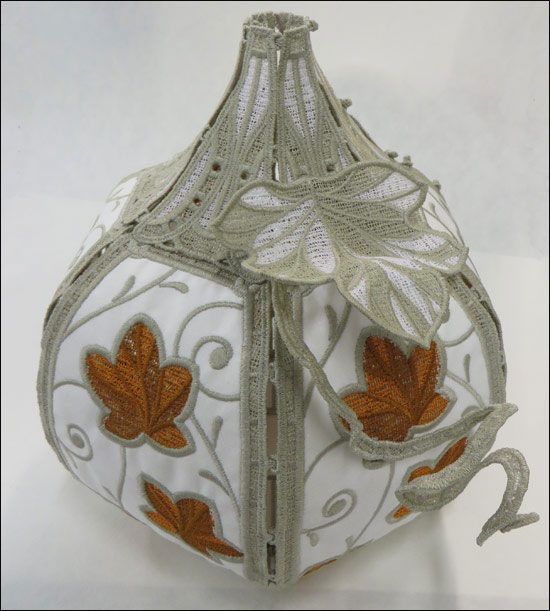
Build a Freestanding Appliqué Design
- Gather the pieces for the design and Alligator Clamps
- Assemble the pieces by inserting the buttonettes into the corresponding eyelets.
- Follow the complete instructions given for the freestanding appliqué design.
- Your pumpkin is complete.
Handy Tips
- Be sure to stabilize your fabric for the appliqué part prior to using it in the embroidery process for best results. It will be sturdier and last longer.
- When storing – place in the structure’s own separate container and use tissue paper or packing materials to keep the structure from being crushed.
- If after packing and storing the project is crushed or limp, take it apart, spray with starch, and iron the pieces on the wrong side. Allow to dry completely.
For more information, watch our Freestanding Lace Appliqué Tutorial:
This material is © OESD, LLC and may not be reproduced or published without permission.