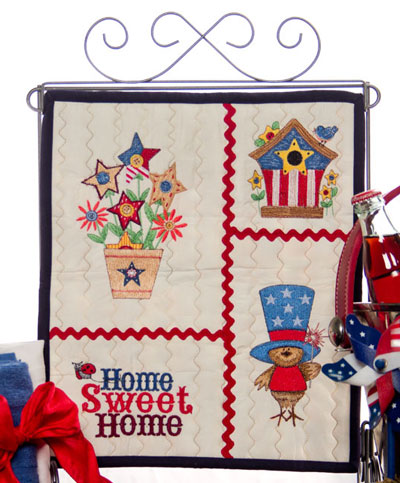
American Icons Mini Quilt
by Tari Intardonato
Celebrate summer in a patriotic way with this adorable table top quilt. Fun to stitch and even more fun to display! This project features designs from American Icons #80028 by Debra Jordan Bryan.
Supplies
Fabric:
- 1/2 yard Cream Cotton
- Backing – Fat Quarter
- Low Loft Batting – 14" x 16"
- 1/4 yard Navy Blue Cotton - Binding
Notions:
- Embroidery Thread
- Fusible Polymesh Stabilizer
- Heavy Weight CutAway Stabilizer
- 1/2" Red Rick Rack
- Organ Machine Needle #80 for Embroidery
- Mircotex Machine Needle #80 for Construction
- 505 Temporary Spray Adhesive
Accessories:
- Large Embroidery Hoop
- Medium Embroidery Hoop
- Embroidery Foot
- Patchwork/Quarter-inch Foot
- Walking Foot
Embroidery Designs:
- OESD's American Icons #80028 by Debra Jordan Bryan
Instructions
Cut and Prepare Fabric:
- Cut 2, cream fabric and Heavy Weight Cut Away 10" x 14", to fit Large 5" x 7" oval hoop. Cut Fusible Polymesh 10" x 14" and fuse to cream fabric following directions.
- Cut 2, cream fabric and Heavy Weight Cut Away 8" x 9", to fit Medium hoop. Cut Fusible Polymesh 8" x 9" and fuse to cream fabric following directions.
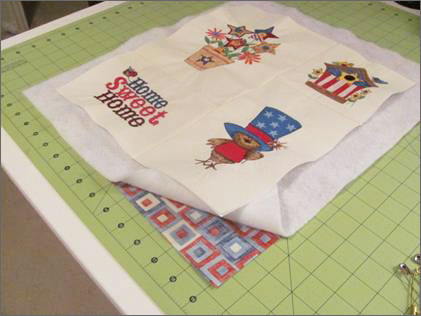
Embroidery:
- Use temporary adhesive spray to join 10" x 14" cream fabric to Heavy Weight CutAway.
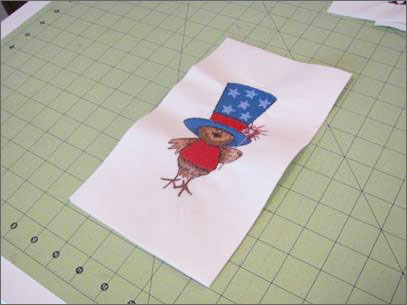
- Hoop 10" x 14" cream fabric and stabilizer in large hoop. Stitch Design #80028-14, using recommended thread colors and increasing the design by 20%.
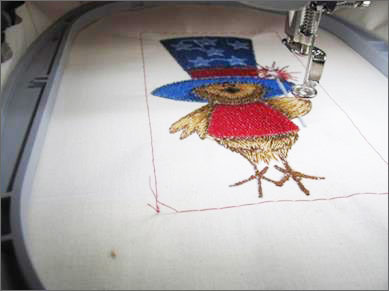
- Repeat steps 1 and 2 with Design #80028-07, using recommended thread colors.
- Use temporary adhesive spray to join 8" x 9" cream fabric to Heavy Weight CutAway.
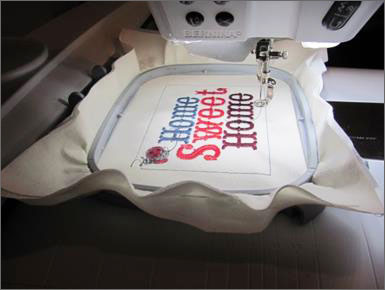
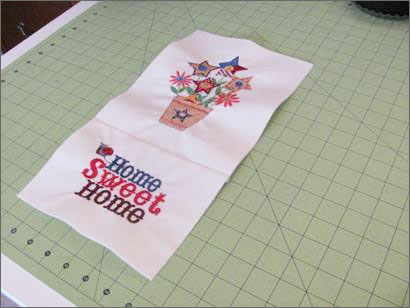
- Hoop 8" x 9" cream fabric and stabilizer in large hoop. Stitch Design #80028-02, using recommended thread colors and increasing the design by 20%.
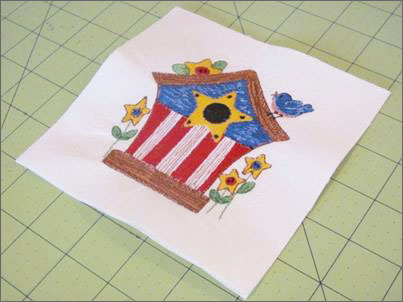
- Repeat steps 4 and 5 with Design #80028-08, using recommended thread colors and increasing the design by 20%.
Cut and Sew Embroidered Blocks:
When embroidery is finished cut blocks to:
- 7 1/2" x 9 1/2" – Design #80028-14
- 7 1/2" x 5 1/2" – Design #80028-02

- 5 1/2" x 5 1/2" – Design #80028-08
- 5 1/2" x 9 1/2" – Design #80028-07
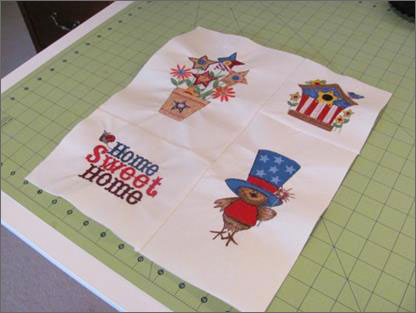
- Lay out blocks in two columns. The first row will have designs: #80028-14 and #80028-02.
- The second row will have designs: #80028-08 and #80028-07.

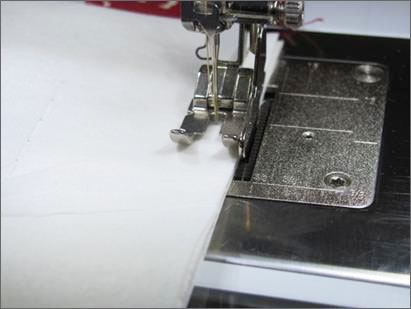
- Attach patchwork foot. Using a 1/4" seam allowance, seam the blocks with right sides together.
- Pieced first row will measure 7 1/2" x 14 1/2"
- Pieced second row will measure 5 1/2" x 14 1/2"
- Pieced first and second row. Pieced blocks will measure 12 1/2" x 14 1/2".
Assemble The Mini Quilt:
- Optional: Make a quilt hanger by sewing two 9" x 5" fabric strips right sides together down both short sides, using a 1/4" seam. Turn right sides out, and press in half so your folded piece measures 9 x 2 1/2".
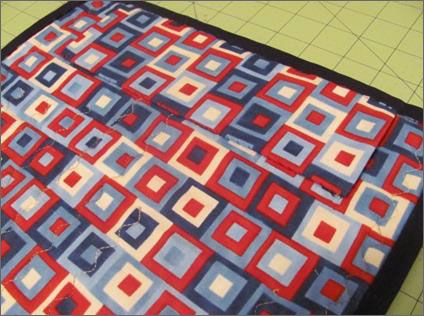
- Place quilt backing (14" x 16") face down.
- Lay batting on top of backing.
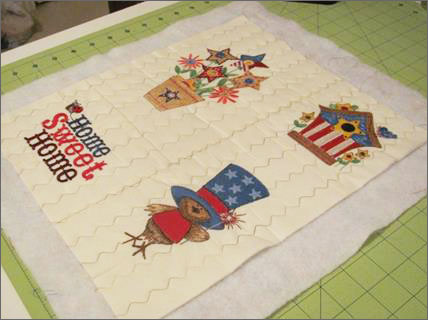
- Lay the top of quilt right side up on top of batting.
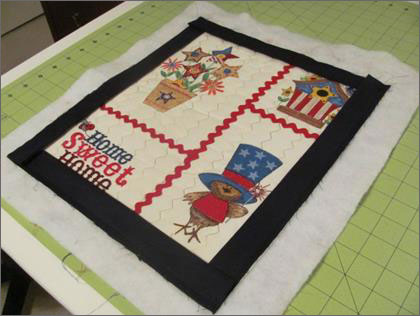
- Quilt as desired. This quilt was quilted using a serpentine stitch. The length was changed to = 2.4. The width to = 5.5. Variegated thread was stitched every 1" horizontally.
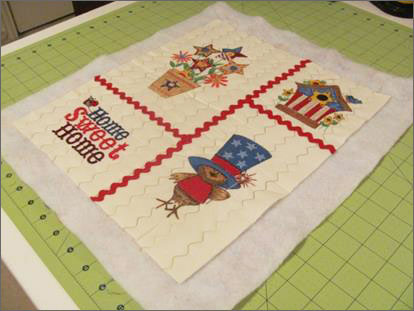
- Add Rick Rack horizontally over seams.
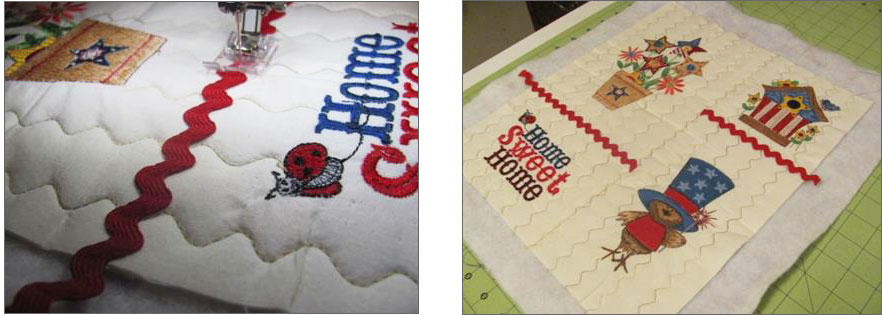
- Add Rick Rack vertically over seam.
- Cut 2 1/2" strips to make binding.
- Apply binding to quilt from front of quilt sewing a 1/4" seam.
- Add hanger to back during binding process.
- Hand sew binding to back.
- Hand tack down lower edge of hanger.
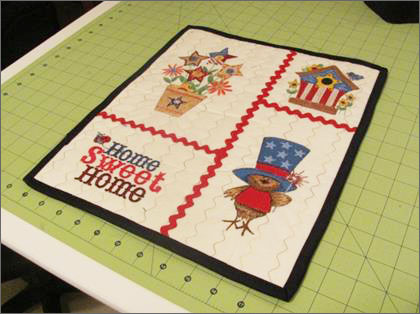
Quilt is complete! Display on 12" x 14" Table Stand.
This material is © OESD, LLC and may not be reproduced or published without permission.